
What are Supplier Product Assignments?
Supplier product assignments link your Ecwid store’s products (and variations) to specific suppliers. These assignments hold key details like supplier SKU, cost, minimum order quantity, and more — enabling you to manage suppliers efficiently, create purchase orders with the right supplier altogether, and ensure your catalog-to-supplier mapping is accurate.
1. Select a Supplier
Before creating or editing assignments:
- Navigate to the Supplier Product Assignments tool within the app.
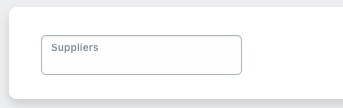
- Use the dropdown to select a supplier from your existing list. If you haven’t yet added any suppliers, use the Manage Suppliers tool to create them first.
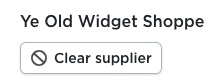
- You can clear the current supplier selection at any time using the Clear Supplier button and choose a different supplier.
2. View & Edit Existing Assignments
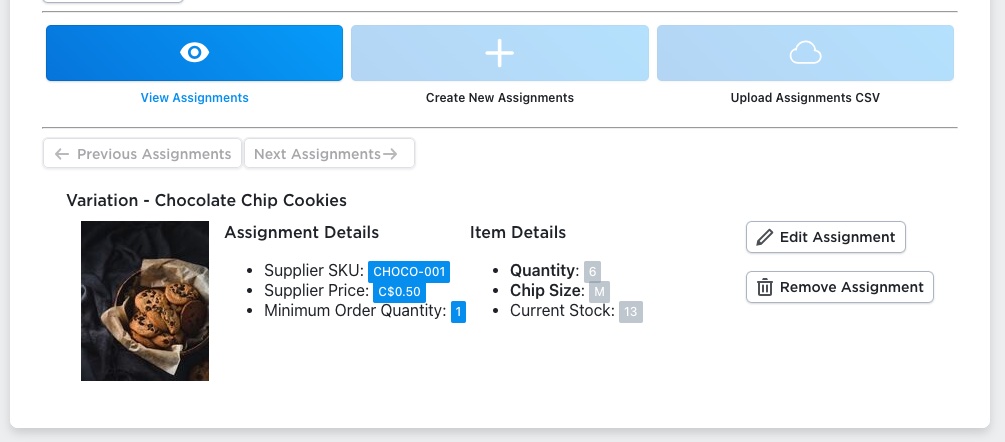
Once a supplier is selected:
- By default you land on the View Assignments tab. Here you’ll see a list of product rows assigned to that supplier.
- Each row displays assignment details if set: the supplier’s SKU, the supplier price, minimum order quantity, variant options (for product variants), and your store’s current on-hand quantity.
- You’ll also find action buttons per row: Edit Assignment and Remove Assignment.
- Use pagination (Previous Assignments / Next Assignments) if the supplier has more than 10 assignments to browse.
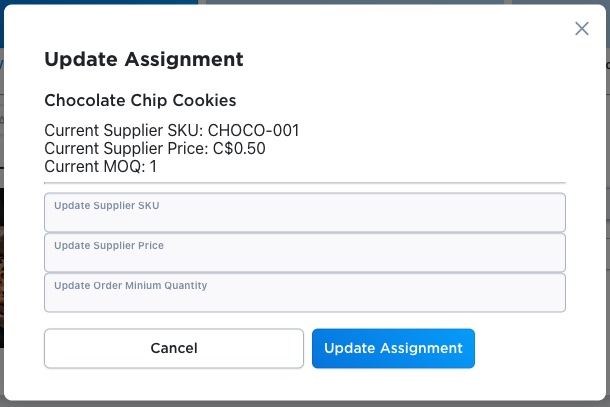
If you click any of the Edit Assignment buttons, you’ll get a modal that will allow you to update any of the assignment’s settings, including the supplier’s SKU, the supplier’s price, and the minimum quantity the supplier will allow. When you’re done updating the assignment’s data, you can click the Update Assignment button to update the assignment and close the modal.
3. Create New Assignments
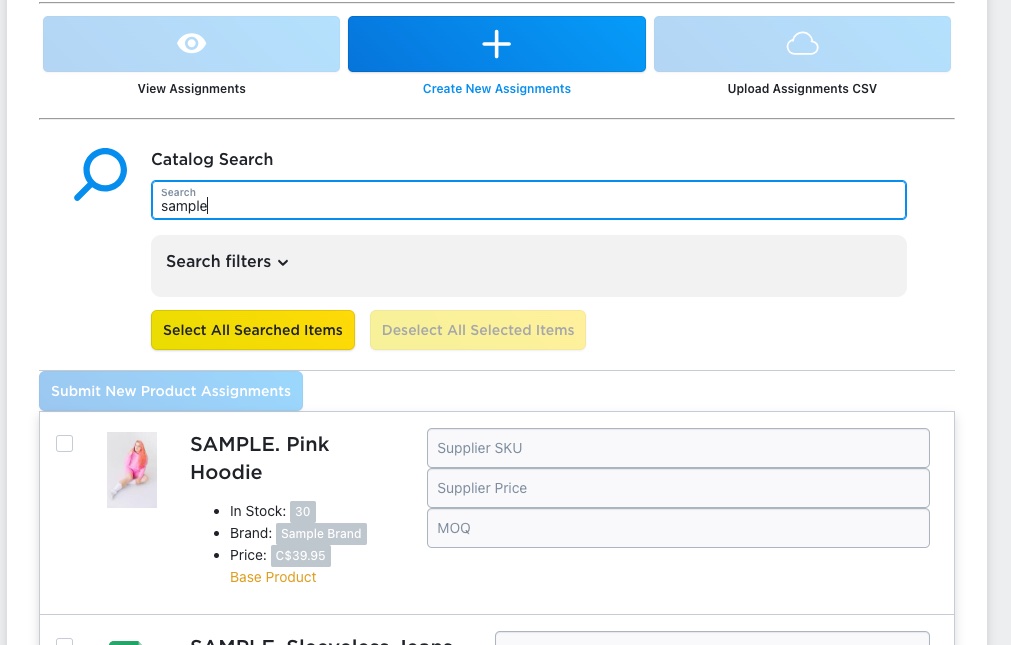
To link new products or variations to the selected supplier:
- Click the Create New Assignments tab.
- Use the catalog search bar to find products or variants you want to assign. Filters may help: by stock status, purchase disabled, or category.
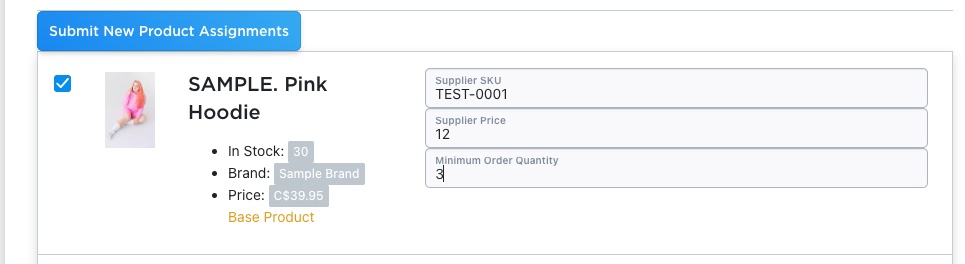
- For each row, you can fill in settings: Supplier Price, Minimum Order Quantity, Supplier SKU.
- If you simply want to assign the product without details, check the item’s checkbox and leave the fields blank.

- Use convenience buttons:
- Select All Searched Items to check all visible items in the search result.
- Deselect All Selected Items to un-check all.
- After selections and settings are done, click Submit New Product Assignments. The assignments are created for that supplier in bulk.
4. Uploading Assignments
For large-scale assignment creation you can use the CSV method:
- Export your product list from Ecwid.
- Add columns for Supplier SKU, Supplier Price, Minimum Order Quantity etc.
- Upload the CSV through the app’s upload tool.
- For full details check the “Create and Upload Supplier Assignments CSV” article.
Best Practices & Tips
- Keep your supplier list up to date — remove inactive suppliers, update names and contact info.
- Assign details at the same time — when creating assignments, fill in Supplier SKU, Price, Minimum Order so you don’t have to come back later.
- Periodically review assignments — ensure pricing, SKUs and minimums reflect current supplier data.
- Use the CSV upload for batch changes — especially when switching suppliers, updating many SKUs/prices or importing a new product line.
- Verify sample assignments after creation — pick 5-10 random items and confirm the supplier SKU/price show up correctly in View Assignments.
Supplier Purchase Orders for Ecwid by Lightspeed
Supplier Purchase Orders can help you manage your store’s purchase orders and warehouse receiving. Try now, and get a 7 day free trial!