
Create & Update PO Workflow
Managing purchase orders is the heartbeat of your purchasing process. With the Supplier Purchase Orders app you’ll generate new POs, associate them with the correct supplier, ship-to addresses, track line-items, costs and taxes — and maintain the flexibility to edit before the PO is issued. This ensures your supplier workflows are aligned, cost-accurate and efficient.
Step 1: Creating a New Purchase Order
- Navigate to the Purchase Orders section in the app and click + New Purchase Order.
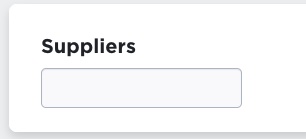
- Select your Supplier from the dropdown. Once selected:
- The supplier’s address will populate.
- Default payment terms, payment method & tax settings will auto-fill (you can override).
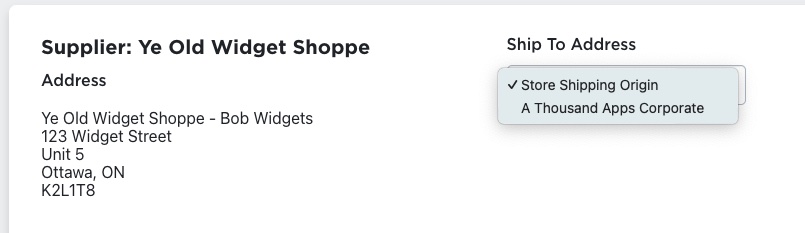
- Choose the Ship To Address from the dropdown — this list includes your store’s shipping origin and any configured corporate addresses. Remember: if you choose your origin address (warehouse) and you later receive the PO, your inventory will update.
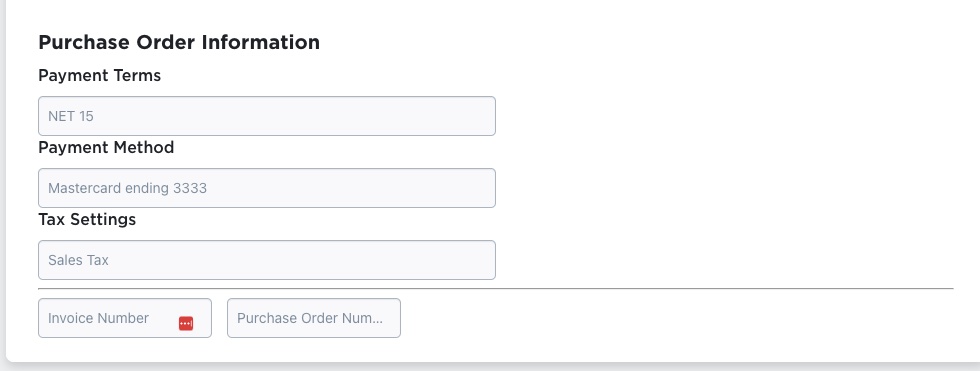
- Fill in PO information: Internal Order Number, Supplier Order Number (if known), Invoice Date, Expected Date, Payment Due Date.
Step 2: Adding Purchase Order Lines
Under the “Add Purchase Order Lines” panel you’ll have tabs:
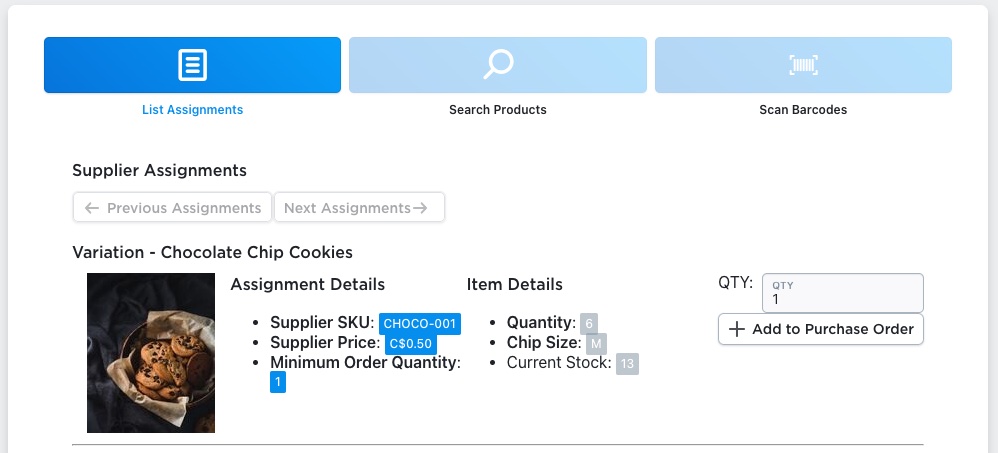
- List Assignments: paginated list of products assignments for the selected supplier.
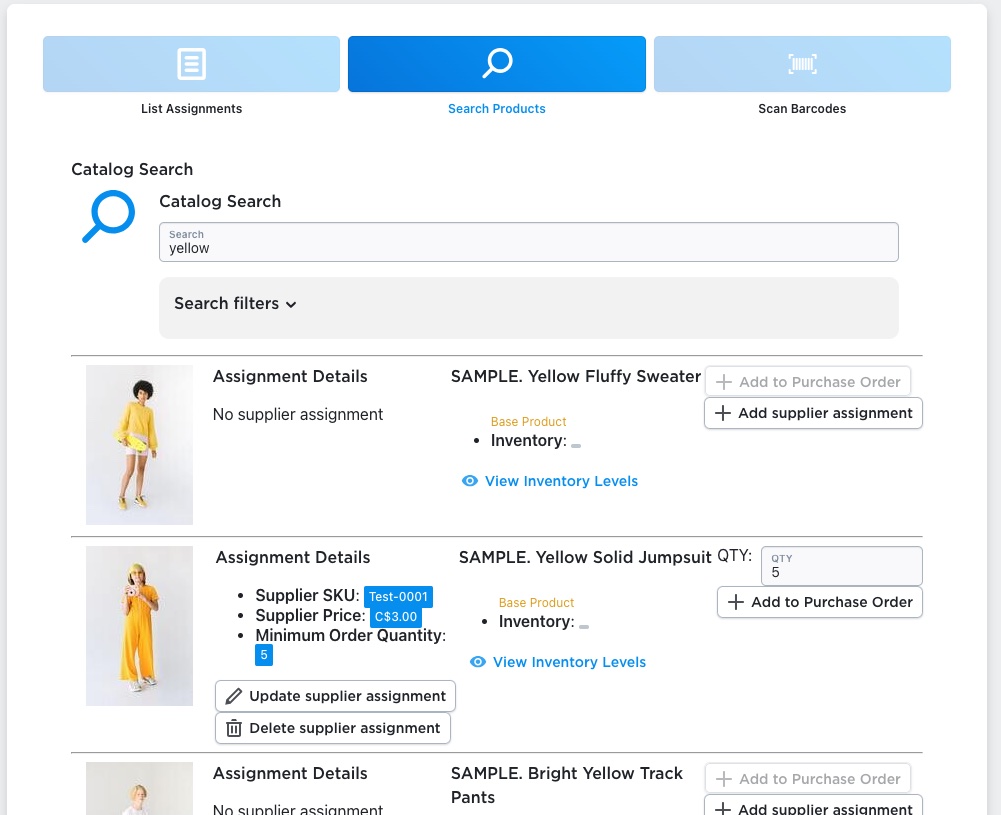
- Search Products: find products in your catalog (even if many assignments exist) and add them to the PO.
- Click Add to Purchase Order for each item you want to include.
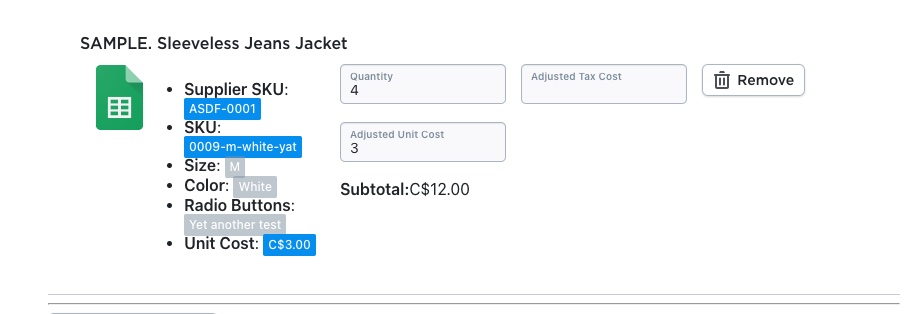
- After adding, in the “Purchase Order Lines Settings” panel you can adjust each line:
- Quantity (defaults to minimum order quantity)
- Adjusted Unit Cost (defaults to supplier-price)
- Adjusted Tax Cost (if extra tax/duty needs to be recorded)
Step 2a: Other Purchase Order Line Options
Adding and Updating Assignments
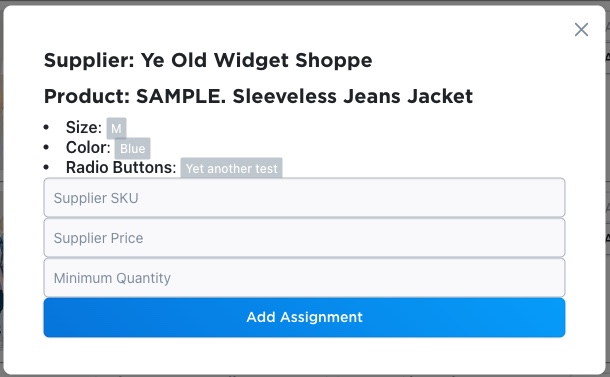
- Searched items that don’t have an existing supplier assignment will show a + Add supplier assignment button. You can use this button to quickly create an assignment, which will allow you to then add this item to the purchase order.
- For items that have assignments, you can also update or delete the existing supplier assignments by clicking the Update supplier assignment or Delete supplier assignment buttons under the assignment details.
Getting More Details

- For additional information about the products that have been searched, you can use the two buttons below the product details.

- Clicking the View Inventory Details button will show inventory levels in your store, followed by the amount of ordered inventory for this product in existing, outstanding purchase orders.
- Because the internet and software isn’t perfect, there is a chance that some ordering details may not have been removed correctly at some point. If you see that purchase order details are missing from this list, and there is a trash can icon under the Orphaned column, this means that the purchase order line is missing its related purchase order. This should be rare, but the orphaned record should probably be deleted, because it’s still showing as outstanding, even though the purchase order has already been removed. These orphaned records would likely cause problems for suggested purchase orders because they would show up in the product’s inventory counts.
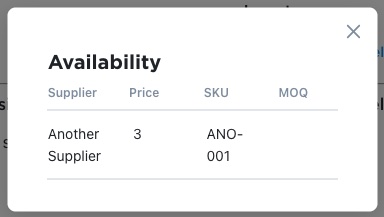
- Clicking the View Other Suppliers button will show you details of other suppliers that offer the same product.
Adding External Items
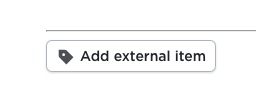
- If you’re looking at add an item that won’t be tracked by your store, use the Add external item button at the bottom of the Purchase Order Lines Settings panel.

- When you add an external item, you’ll be prompted to add key details about the external item:
- The untracked item’s name
- The supplier’s SKU
- The item’s price
- External items will be added to and tracked by purchase orders, but will never try to modify inventory levels in your store, even when shipped to your store’s shipping origin.
Step 3: Totals, Adjustments and Dates
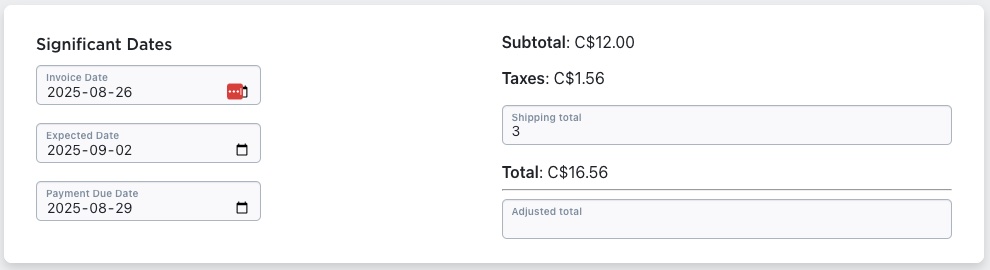
- Use the Totals panel to check Subtotal, Taxes, Shipping total (if known). You may override the total using the Adjusted Total if needed.
- Add in any known significant dates:
- Expected Date: the date shipments are expected to be complete.
- Payment Due Date: the date that payments are expected to be complete.
- Invoice Date: the date the invoice is accepted by the supplier (may need to be updated if accepted later)
Step 4: Notes

Lastly, we should see an order notes text field that we can fill out with any additional information that the supplier might need for this purchase order. The value set here appears in the bottom left of the purchase order’s downloaded PDF.
Once all of a purchase order’s information has been entered, click the + Create Purchase Order button to create the purchase order. After creation, the new purchase order should appear in the purchase orders list in the purchase orders section of the app.
Step 5: Editing and Issuing a Purchase Order
- Once everything looks correct, click + Create Purchase Order. A new PO record is created and appears in your PO list as a draft order.
- Editing Allowed Before Issue: If the PO has not yet been marked Issued, you can edit it (change lines, supplier, quantities).
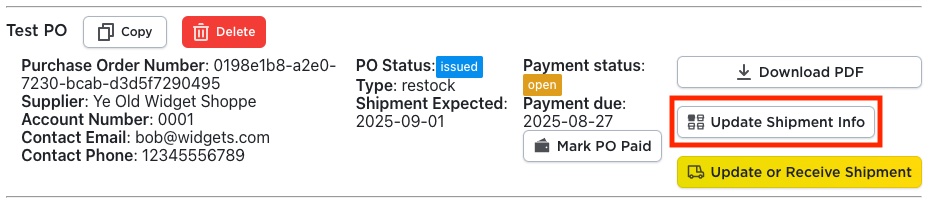
- Issue the order: After the supplier accepts the draft order, make any final edits to the invoice date, to match any requested changes and add in any order IDs or information the supplier sent. Click the “Mark PO Issued” button to issue the PO.
- After Issue: Once you click Mark PO Issued, the PO is locked for further edits. If you need changes after issuance, you’ll likely need to cancel/reject and recreate.
Why This Workflow Matters
- Accuracy in sourcing: You ensure each PO is aligned to the correct supplier with correct terms, reducing errors.
- Inventory & financial clarity: With shipping destinations defined, cost/tax fields set, your inventory and cost base remain tracked properly.
- Efficient supplier communication: A properly structured PO makes it easier to send to suppliers and manage fulfilment.
- Control & auditability: Locked POs post-issuance ensure integrity of your purchase history and audit trail.
Best Practices & Tips
- Confirm supplier defaults first (terms, tax, address) before creating your first PO—this saves time in each order.
- Use the Search Products tab when your supplier has many assignments—this reduces paging and speeds up adding items.
- Review minimum order quantities & unit cost when adding lines; don’t just accept defaults blindly.
- Set and confirm realistic Expected Dates and Payment Due Dates—these help your workflow and supplier follow-up.
- Lock edits when issued: treat issuance as a commitment point—don’t rely on post-issuance edits as they are likely not possible.
- Generate sample POs initially and review the PDF output – make sure your branding, address, supplier info appears as intended.
Supplier Purchase Orders for Ecwid by Lightspeed
Supplier Purchase Orders can help you manage your store’s purchase orders and warehouse receiving. Try now, and get a 7 day free trial!